During a Huddle conference, you can manage audio, video, screen sharing, moderation, engagement tools, AI meeting features, and more. This guide will help you review all in-meeting controls at a glance.
Huddle Pre-Lobby Settings
Prepare for meetings before joining! Learn all the settings available to you: Preparing for a Huddle Video Conference with Pre-Lobby Settings.
Core Controls: Microphone, Camera, End Call
At the bottom center of your screen, you can quickly manage your main meeting controls.
Microphone: Turn your microphone on or off, or click the ^ arrow to select your input source.
End Call: Leave the Huddle.
Camera: Turn your camera on or off, or click the ^ arrow to select your camera.

Share Your Screen
Before sharing your screen, make sure your web browser has permission to do so. We recommend using Google Chrome. Mac users may need to update permissions in System Preferences > Security & Privacy > Screen Recording.
To share your screen:
- Click the Share Screen icon at the bottom-right corner of the meeting window.
- Choose one of the following options:
- Entire Screen – Share everything visible on your screen.
- Window – Share one application window.
- Chrome Tab – Share a single browser tab.

Resetting Screen-Sharing Permissions on MacOS
If you encounter an error while trying to share your screen, resetting your Chrome permissions might resolve the issue.
- Open System Preferences on your Mac, and select Security & Privacy.
- In the sidebar, click Screen Recording.
- Uncheck Google Chrome.
- Restart Chrome, then return to System Preferences and recheck Google Chrome under Screen Recording.
- Restart Chrome again.
By ensuring the correct permissions are set up in advance, you'll avoid interruptions and ensure a smooth screen-sharing experience during your Huddle meetings.
Chat and Polls
Use Huddle Chat to send group messages or private messages during a meeting.
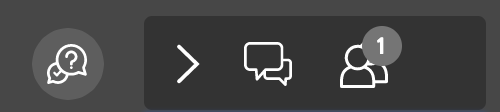
Group Chat – Click the chat bubble icon in the top-right corner.
Private Message – Hover over a participant’s name, click the three-dot menu, then select Send private message.
Close the chat by clicking the X in the chat window or by clicking the chat icon again.

Raise or Lower Your Hand
Use the raise hand feature to let the host or moderator know you have a question or would like to speak without interrupting the meeting.
To raise your hand:
- Click the Reactions or Raise Hand icon in the meeting controls.
- Select Raise Hand.
Once raised, your user black will display a raised-hand icon.

To lower your hand:
- Click the Reactions or Raise Hand icon again.
- Select Lower Hand.

Use Emoji Reactions
Emoji reactions allow participants to respond during a meeting without interrupting the conversation.
To send an emoji reaction:
- Click the smiley face icon in the bottom-right corner of the meeting window.
- Select the emoji reaction you want to send.

Huddle Quick Tip
Moderators can clear emoji reactions during longer meetings to reset the emoji count on the bottom-left side of the meeting window.
Huddle Breakout Rooms
Breakout Rooms allow moderators to create smaller group discussions within a Huddle.
Notes and Requirements
You need at least 3 participants in the Huddle to start a Breakout Room.
To create a Breakout Room:
- Click the More Actions menu in the bottom-right corner.
- Select Create a Breakout Room.
- Enter a name for the room.
- Select the participants you want to add to the room.
- Click Create Room.

To manage Breakout Rooms:
- Open the Breakout Room controls from the meeting menu.
- Review the active rooms and assigned participants.
- Add, move, or remove participants as needed.
- Close the Breakout Rooms when participants should return to the main meeting.

Participants assigned to a Breakout Room will receive a prompt to join their assigned room. They can follow the on-screen prompt to move from the main Huddle into the Breakout Room.
Record Huddles with Dropbox
With net2phone's Huddle video conference, you can record your conference calls and store them in Dropbox for later viewing. If you're new to Dropbox, sign up for a free Dropbox account here.
To start a recording:
- During your video conference, click the More Actions menu in the bottom-right corner.
- Select Start Recording.
To sign in to Dropbox:
- A prompt will appear asking you to sign in to Dropbox. Next to Upload to Dropbox, click Sign In.
- Agree to the terms and privacy policy to continue.
- Allow net2phone Huddle access.
Begin Video and Audio Recording
After signing in, you'll be redirected back to the Huddle app. Click Start Recording to begin capturing the call.
Ending the Recording
When you’re ready to stop recording, click the Stop icon in the top-left corner of your screen.

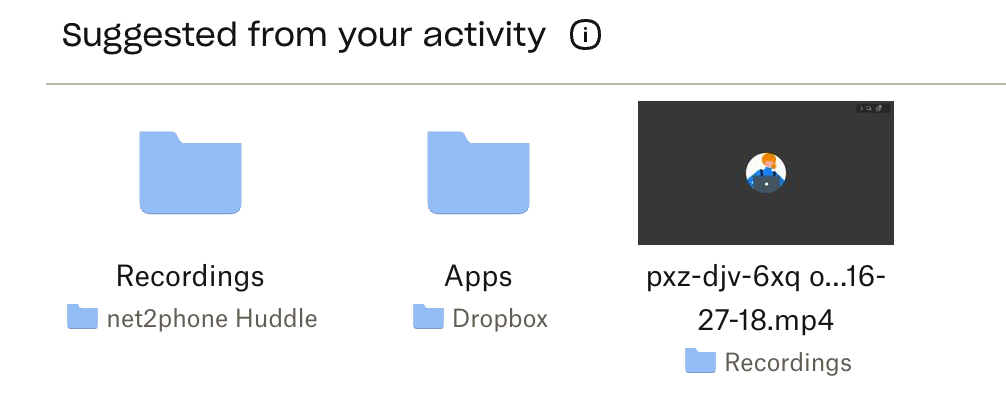
Accessing Your Past Huddle Recordings
To view your recorded Huddle calls, go to Dropbox and open the Recordings folder. All your meeting recordings will be saved there for easy access.
AI Transcripts and Meeting Notes
AI-generated transcripts, summaries, and action items may be handled separately from Dropbox video recordings. Confirm your company’s Huddle configuration to understand where AI meeting outputs are stored or shared after a meeting.
Keyboard Shortcuts
To ensure keyboard shortcuts are enabled:
- Click the gear icon next to your profile icon.
- Choose the Shortcuts subtab.
- Ensure the checkbox for Enable keyboard shortcuts is checked.

Find Keyboard Shortcuts During a Live Conference
You can access the list during any Huddle by clicking the More Actions menu, then choosing View Shortcuts.

List of Huddle Keyboard Shortcuts
| Huddle Action | Keyboard Shortcut |
|---|---|
| Hide or show video thumbnails | f |
| Mute or unmute yourself | m |
| Stop and start your camera | v |
| Manage video quality | a |
| Open or close the chat | c |
| Switch between camera and screen sharing | d |
| Raise or lower your hand | r |
| View or exit full screen | s |
| Toggle tile view | w |
| Show or hide keyboard shortcuts | ? |
| Push to talk | Space bar |
| Show speaker stats | t |
| Focus on your video | 0 |
| Focus on another person's video | 1-9 |
Grant Moderator Rights
Moderators can manage participants and enable advanced meeting features, such as YouTube sharing and other moderation tools.
To grant moderator rights:
- In the participant list, click the three-dot menu next to a user’s name.
- Click Grant Moderator.
- Confirm to apply the change.
Identify Moderators
Moderators are marked with a crown icon on the bottom-right of their video tile.

Content Sharing: Share YouTube Videos
Moderators can share YouTube videos directly in Huddle.
To share a YouTube video:
- Click More Actions in the bottom-right corner.
- Select Share a YouTube Video.
- Paste the video URL.
- Click Share.
The YouTube video will begin to play and appear as a user block on the right-hand side.

To stop sharing a YouTube video:
- Click More Actions.
- Select Stop Video.
- Confirm by clicking Remove.

Quick Tips for YouTube
- Hover over the video to adjust volume, captions, playback speed, or quality.
- Click the video to pause or resume.
- Have the video URL copied before the meeting for a smooth start.
