Learn how to access your contacts, add contacts, and utilize Sonar Chat for internal communications. You can locate your contact list in the Contact tab of your Sonar portal or the bottom pop-up on the right side.
Accessing your Sonar Contacts
Office managers and call center supervisors must be in My Account to access their contact list.
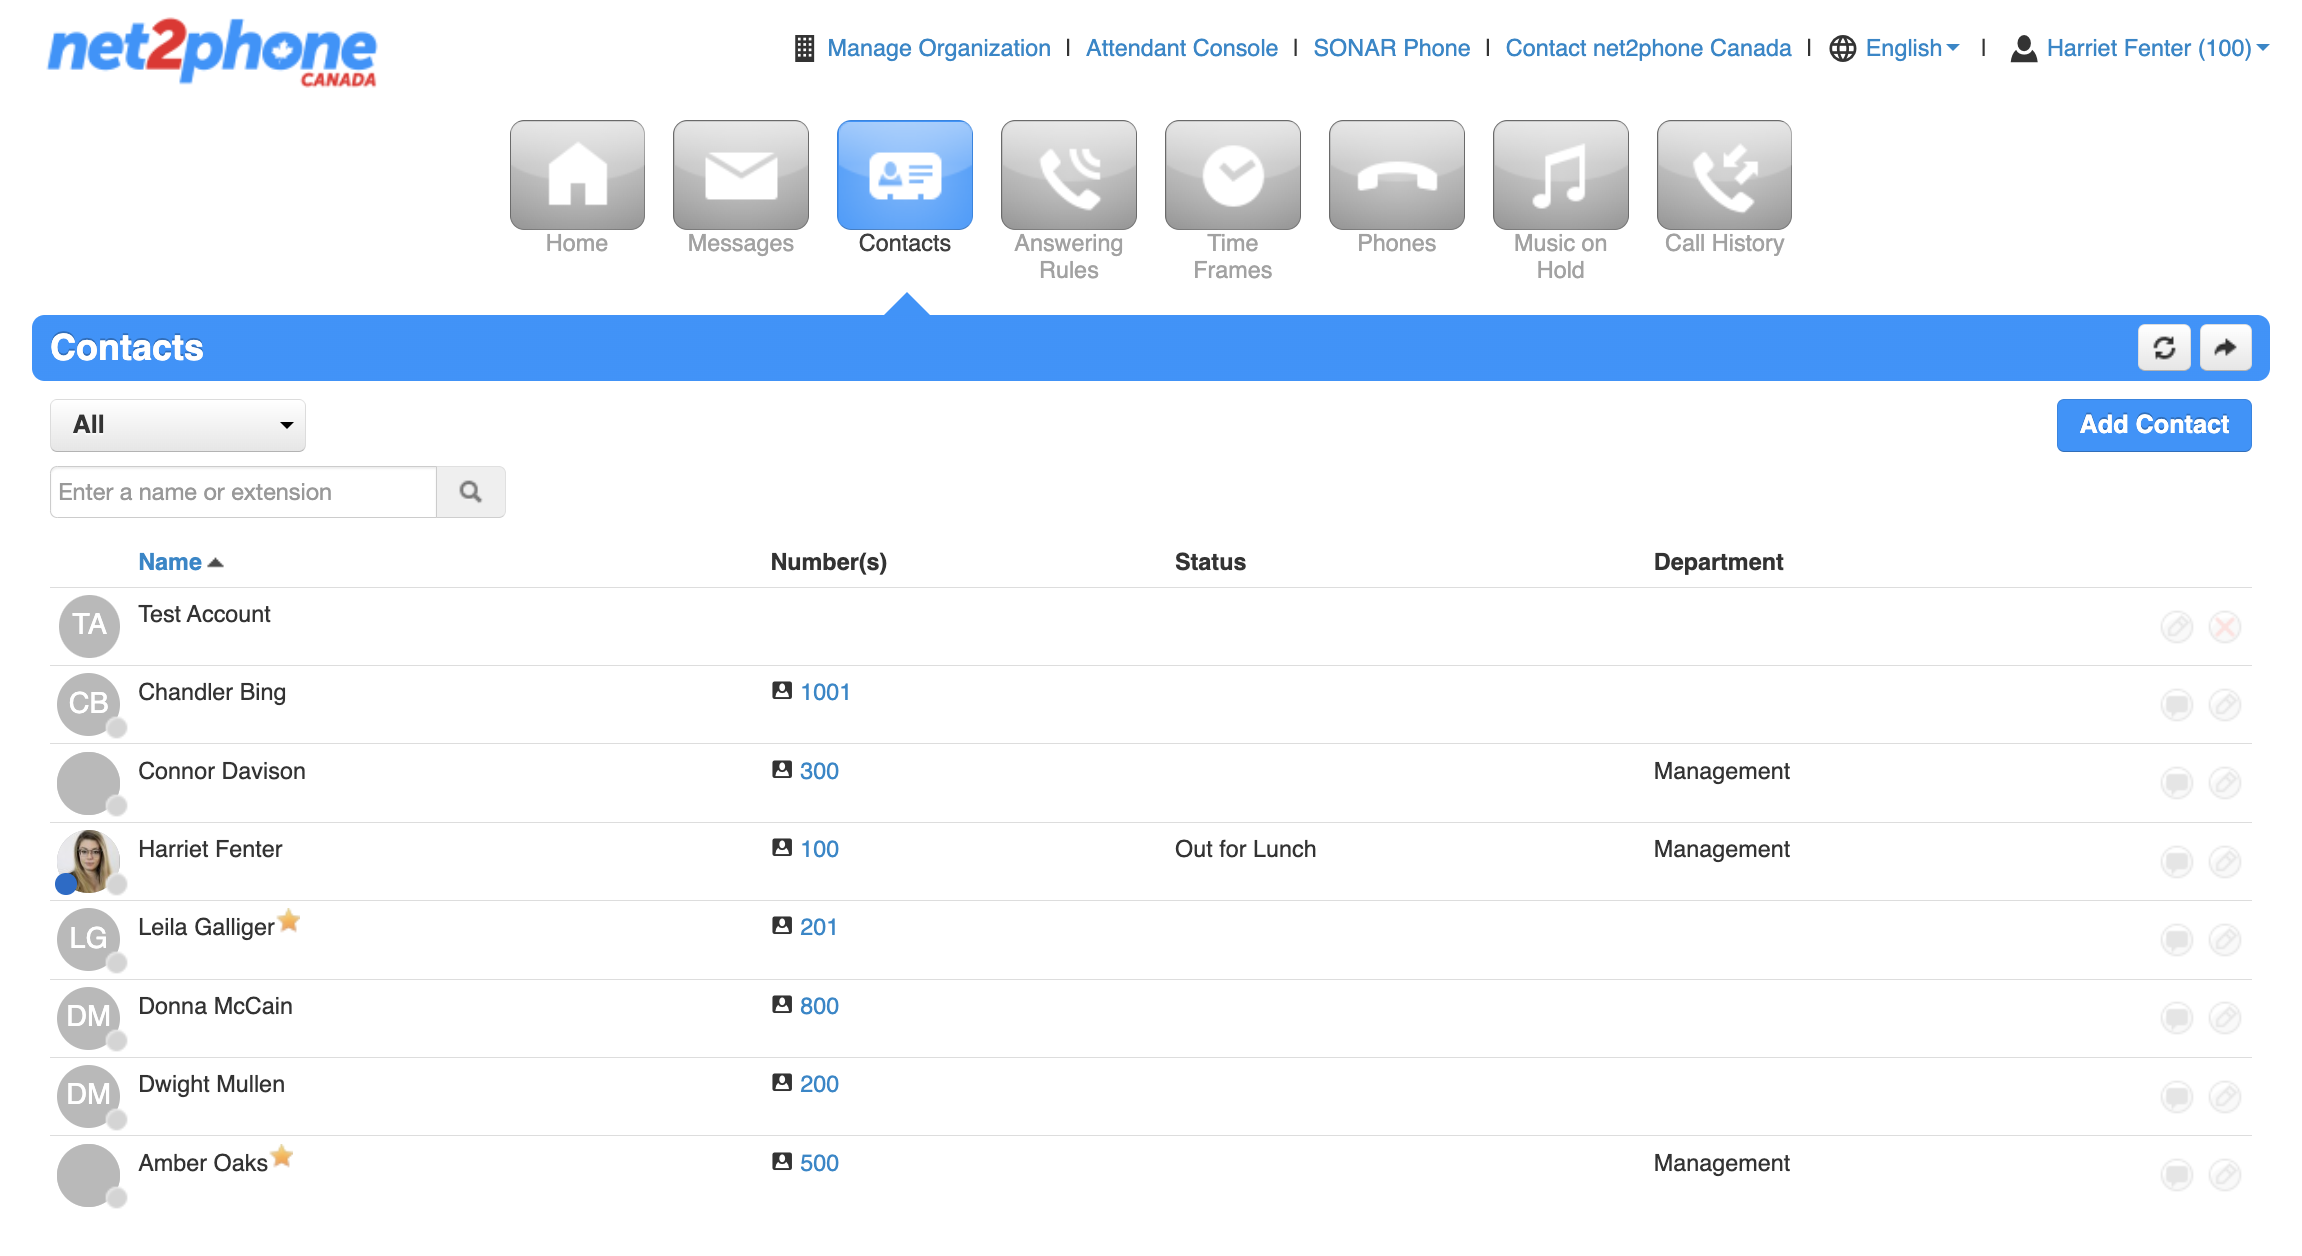
Under the Contacts tab, you can easily access all of your contacts. Your contacts are displayed by name, phone number/extension number, status (online/offline), and department.
Search and Filter your Contact List
You can search for a contact using their name or extension and filter contacts using the drop-down menu.
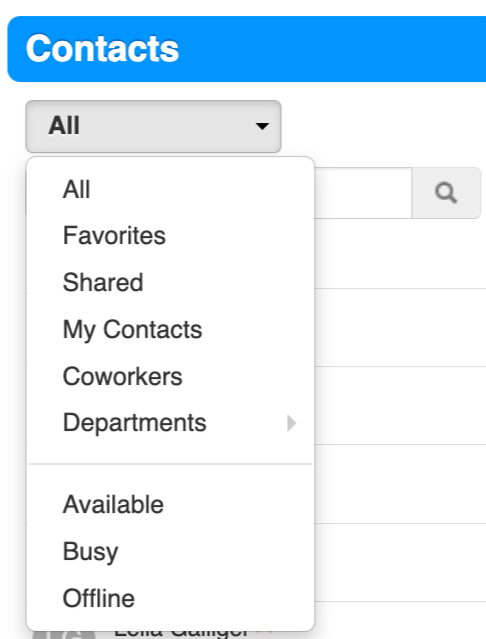
Starred contacts  are saved as your “favourites.”

Add Personal Contacts to Sonar
All employees within your organization are automatically listed as contacts in your Sonar portal.
Sonar Resync After Reboot
The Sonar system is directly linked to your desk phone, so if you manually add contacts to your device, they will be deleted if the device is reset or rebooted.
How to Add a Contact in the Sonar Portal
If you would like to add external contacts to your Sonar account, follow the steps below.
- Log in to Sonar using your net2phone Canada credentials.
Office Managers, Site Managers, and Call Center Supervisors must be in My Account to access their Contacts tab. - Click the Contacts tab.
- Click the Add Contact button.

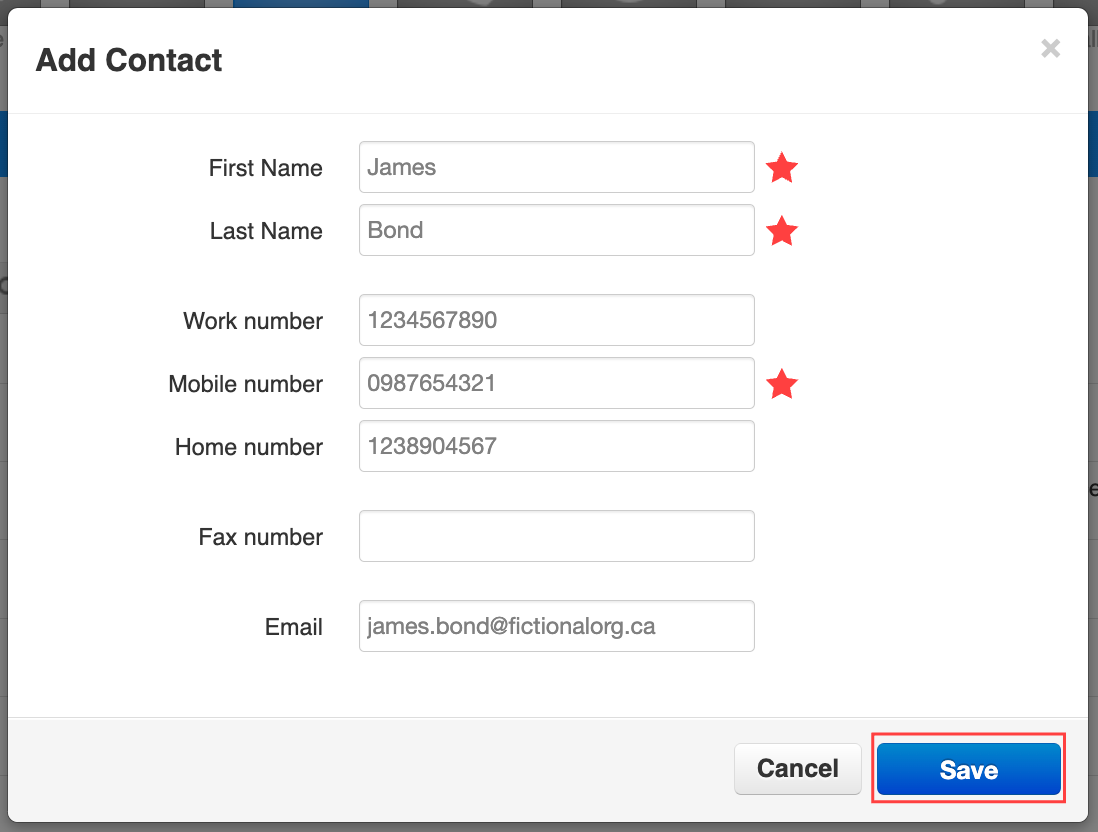
- Fill in the contact fields.
You must include a first and last name, and at least one phone number. - Click Save.
Pop-Up Contacts for Sonar Chat
Sonar Chat Internal Messaging
Sonar Chat allows you to send instant messages to internal contacts within the Sonar portal.
Filter your Sonar Contacts
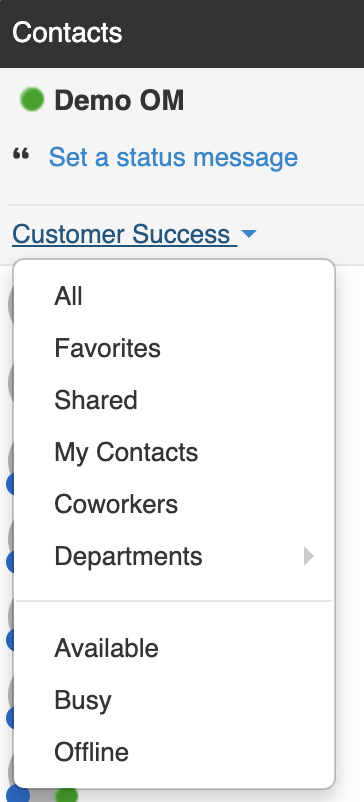
You can search for a contact by their name or extension number, or filter for specific groups of contacts using the drop-down menus.
 |
|
View Past Message Threads
Toggle from Contacts to Recents to view a list of your past Message threads.

Start a New Sonar Chat
Start an internal chat with a few clicks!
- From any page of the Sonar Client Portal, click the Contacts popup menu in the bottom right.
- Select your desired contact. or start a new message thread by clicking the Message icon.
- Type your message and use the Enter/Return key to send.

File Sharing over Sonar Chat
You can instantly send and receive documents during an IM chat.
- Open the chat window.
- Click the paperclip icon in the bottom menu to upload a file from your computer.
Alternatively, you can simply drag and drop a file into the chat window to share it.

Delete a Conversation
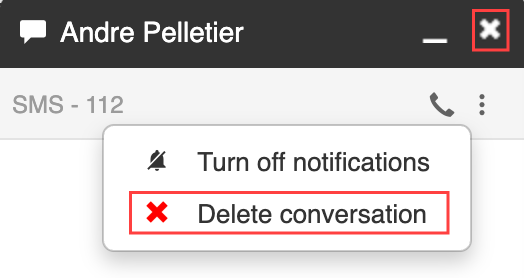
Close a conversation without deleting the thread history, simply click the "x" in the corner. To delete a thread's history, follow the steps below.
- Click the 3-dot kebab menu to open more options.
- Click Delete conversation.
Change your Status from Sonar Chat
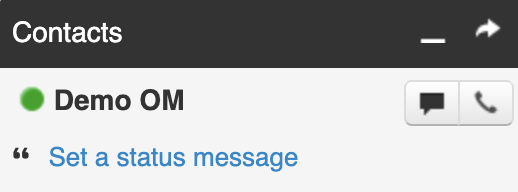
You can easily change your status from the Sonar Chat, which is located under your name at the top of the popup window.
Success: View Chats in your Messages tab.
Office managers and call center supervisors must be in My Account to access the Messages tab of the Sonar portal.
You can view your internal message history along with your SMS history in the Chat sub-tab.

